What matters in play
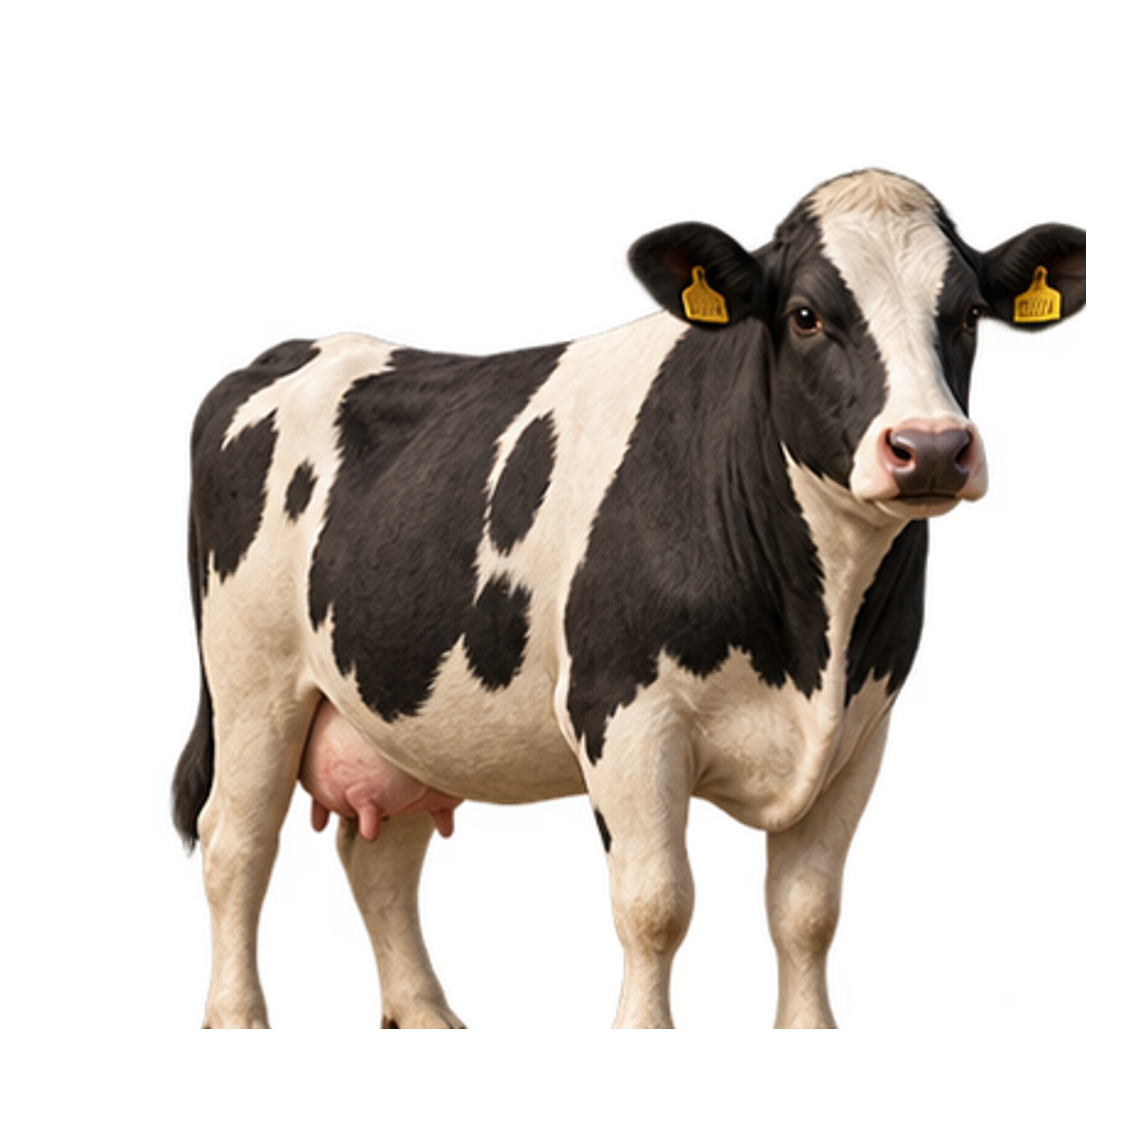
The deepest base-game feed loop: TMR supports strong dairy productivity and manure systems add logistics.
Exact prices, yields, capacities and cycle rates can change by patch, economy difficulty, map and mods. This page publishes the stable workflow and labels every current-content boundary.
What you need before starting
- 01
Housing or pasture that supports the animal
- 02
Grass, hay, silage or TMR
- 03
Collection or transport plan for Milk, slurry and manure
Chronological workflow
- Step 1Place or select suitable housing and confirm whether water is automatic or manual.
- Step 2Secure the feed loop before buying animals: Grass, hay, silage or TMR.
- Step 3Allow animals to mature, maintain health/productivity and leave free capacity for reproduction.
- Step 4Collect or route Milk, slurry and manure; keep collection and pallet areas clear.
Decisions that change the result
- TMR improves milk productivity; manure requires straw and the relevant storage setup
- Buying feed can start production quickly, but a home-grown feed loop reduces recurring logistics.
- Separate animal capacity from output-storage capacity; either can become the bottleneck.
When the workflow is not working
No product appears
Check age, accepted feed, health/productivity and the Milk, slurry and manure collection area in that order.
Reproduction is stopped
Confirm the animals are mature, productive and the pen has free capacity.
Pallets are not spawning
Clear the marked spawn area and check the save/platform pallet limit; reproduce without mods before reporting a game-wide bug.
Source ledger
Evidence A is first-party GIANTS material. Each link below is selected for this entity instead of reusing a generic site-wide source list.